1. Introduction: Breathing Life into Your World with Textures and Materials
Textures and materials are the soul of any immersive 3D game environment. They transform cold, lifeless geometry into vibrant worlds that feel real and engaging.
- Narrative Depth: Materials weave stories through weathered edges, subtle scratches and nuanced imperfections.
- Dynamic Interaction: Textures respond to lighting to add depth, guide the player’s focus and spark genuine emotion.
- Immersive Believability: Without richly crafted surfaces, even the most detailed models feel hollow.
This guide will lead you, step by step, to master textures and materials so you can build environments that players connect with on a visceral level.
Pro Tip: Gather real-world reference photos under varied lighting and test your textures early in your engine to ensure authenticity and consistency.
2. Core Concepts: PBR And Physical Accuracy
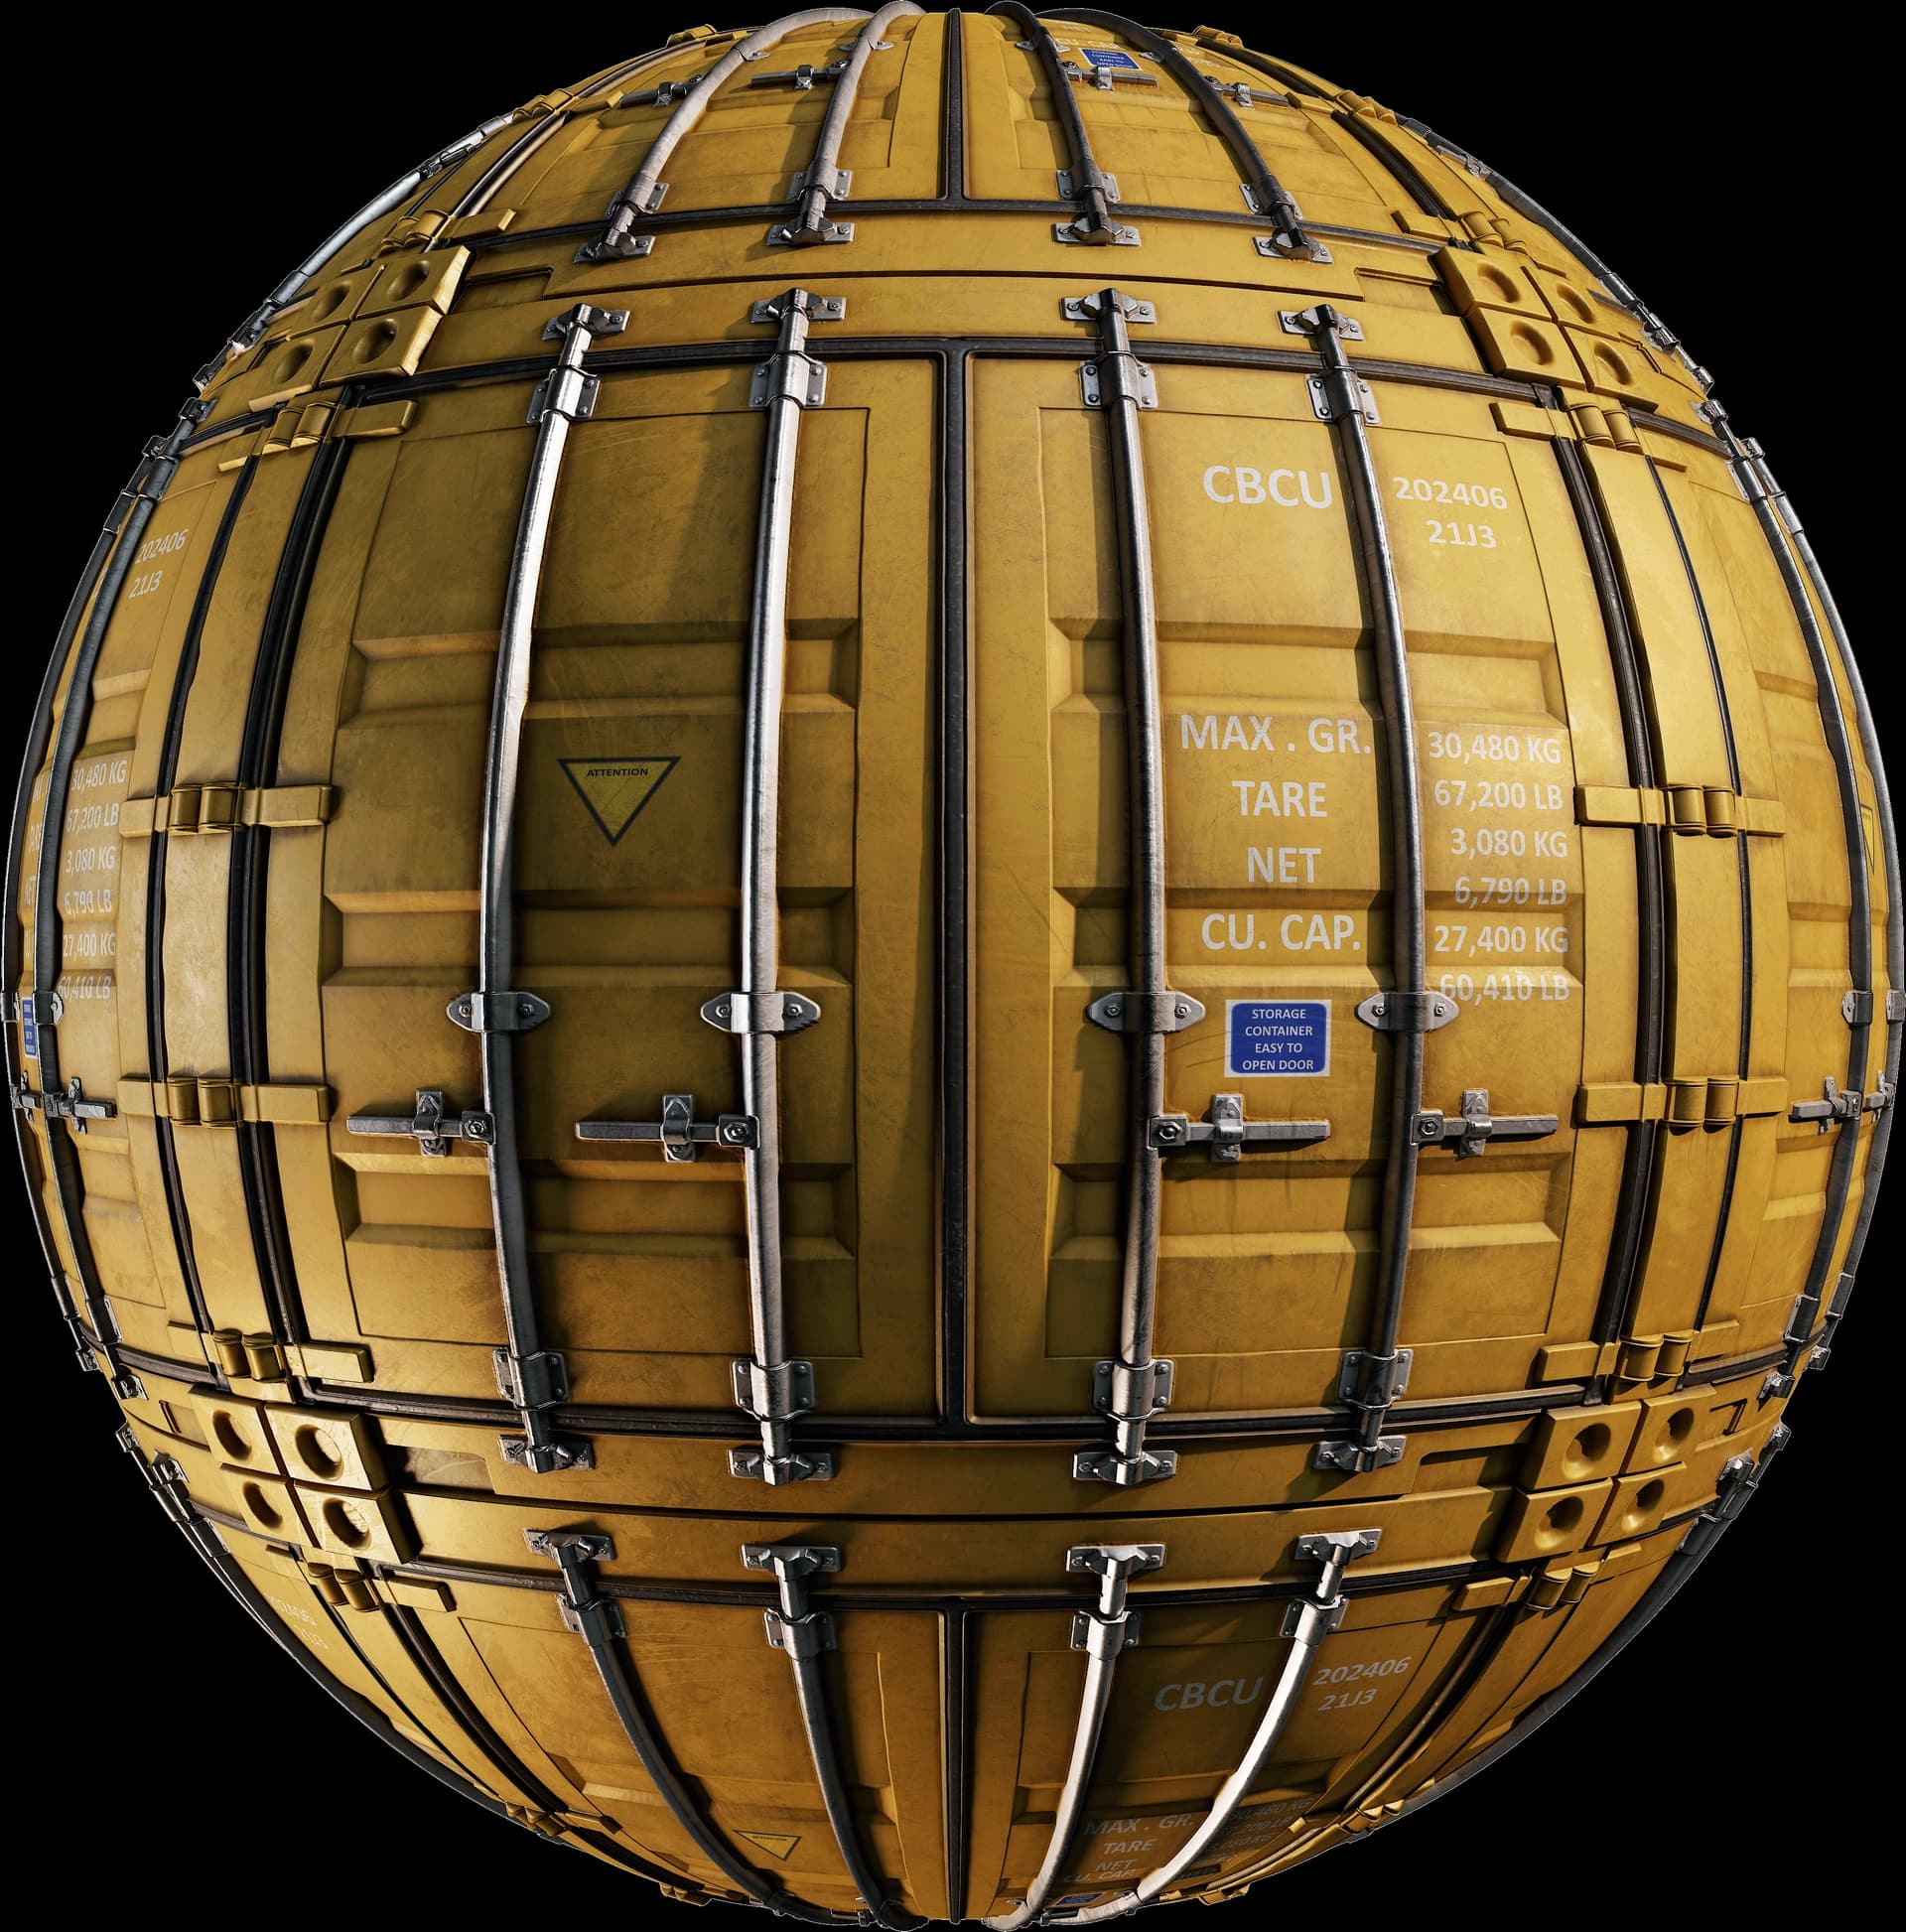
Physically Based Rendering (PBR) is the cornerstone of modern game art and design. It ensures materials interact with light in a way that feels authentic, anchoring your environments in a believable reality. PBR relies on specific texture maps, each with a distinct role:
- Albedo: Sets the base color, stripped of lighting or shadow influence.
- Roughness: Refers to the degree of light scattering, ranging from mirror-like gloss to diffused matte.
- Metallic: Determines whether a surface reflects like metal or diffuses like non-metal.
- Normal: Simulates surface depth and detail without adding polygons.
- Height: Enables parallax or displacement for richer 3D effects.
Master these maps, and your materials will shine under any lighting condition.
Pro Tip: Test your textures under varied light angles in your engine. A material that appears neutral in natural light might falter under intense spotlights. Always verify early and often.
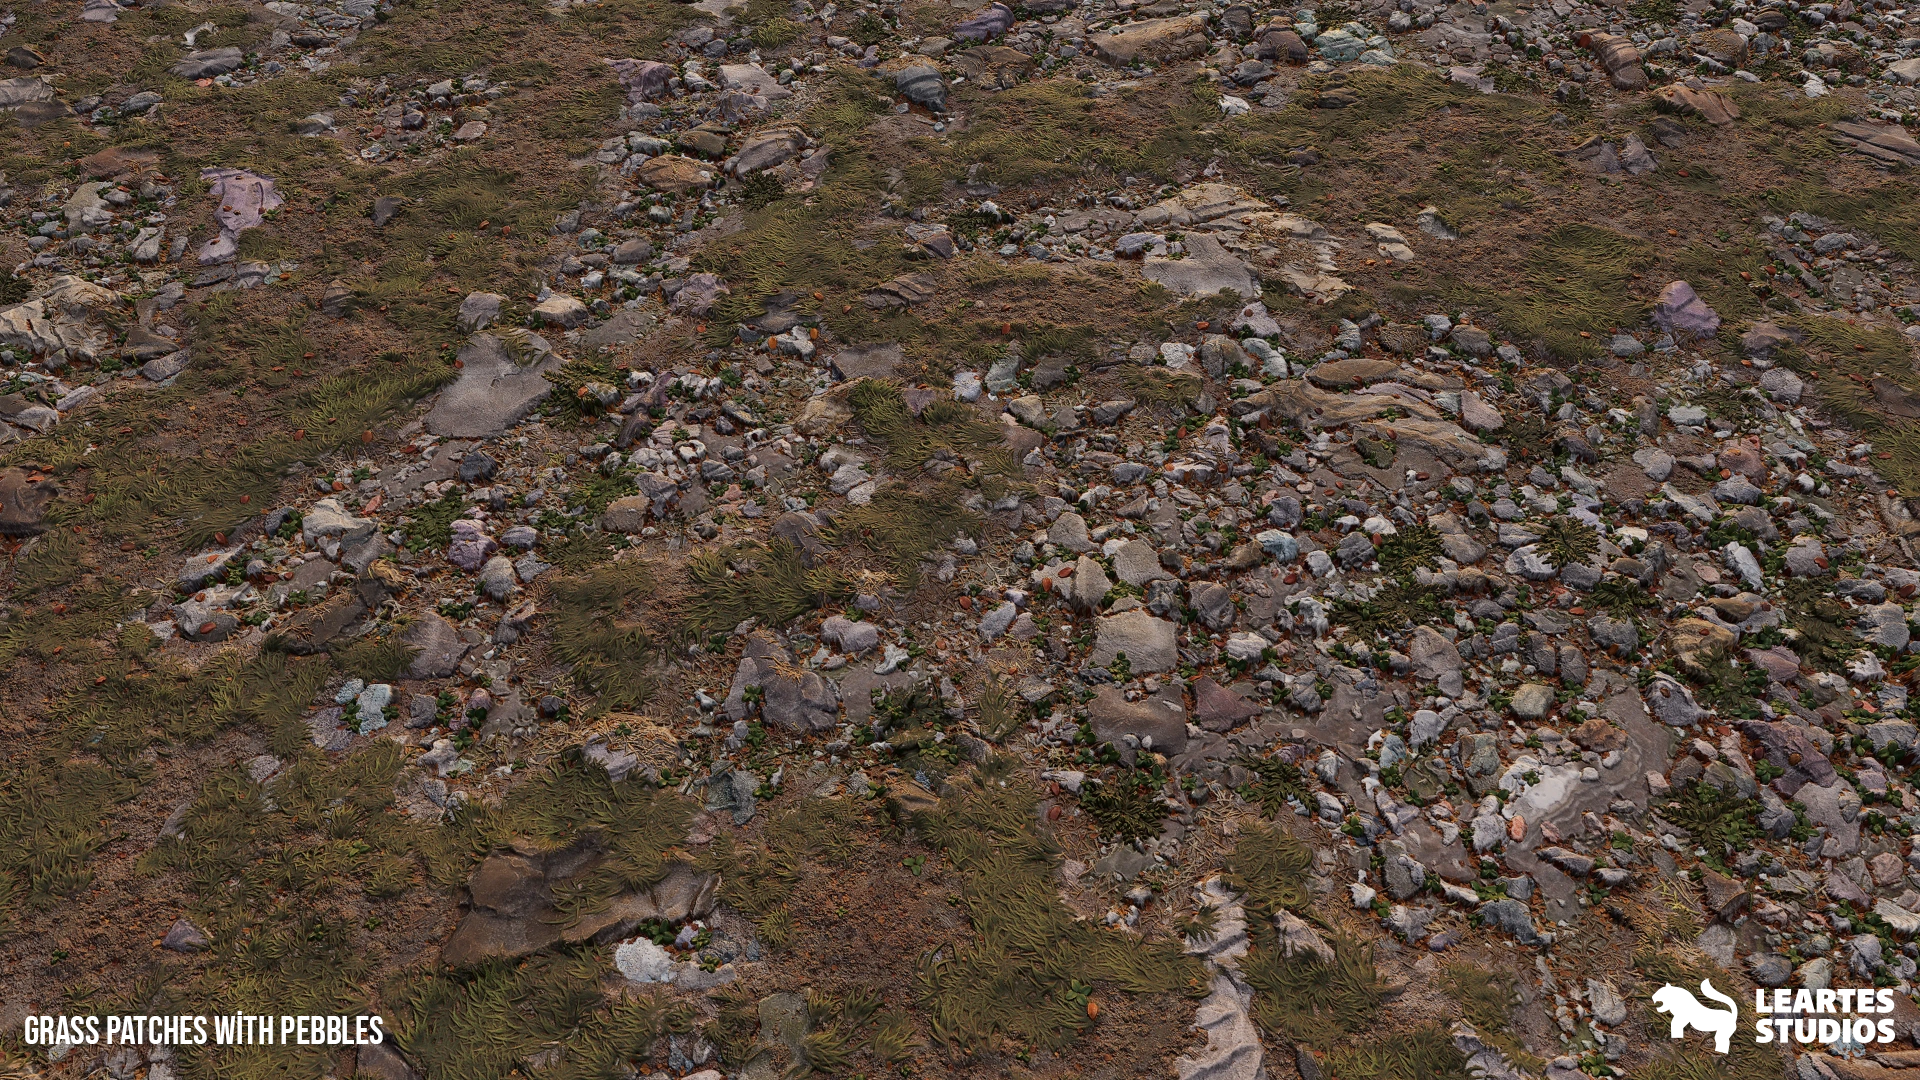
3. Gathering References and Planning
Exceptional textures begin with excellent references to study real-world surfaces, such as chipped concrete, tarnished metal, or aged wood. Take your own photos or source high-quality images online, focusing on variations in color, texture, and wear. Distill your vision into mood keywords, such as "grimy,” "futuristic," or "earthy." Tools like PureRef or Milanote are ideal for creating a mood board to keep your creative direction sharp and unified.
- Capture diverse surfaces: Look for imperfections, such as stains or cracks.
- Collect variations: Gather multiple samples of the same material to avoid monotony.
- Define your aesthetic: Use keywords to shape a cohesive texture palette.
A robust reference library ensures your materials feel intentional and harmonious.
4. UV Unwrapping and Layout
UV unwrapping is the backbone of texturing. A well-organized UV layout maximizes texture resolution and eliminates visible seams. Place UV islands strategically, prioritizing high-visibility areas, such as the front of a prop, while compacting less critical sections. Add padding between islands to avoid bleeding during mipmapping.
- Hide seams: Position cuts along natural edges or concealed areas.
- Balance texel density: Maintain consistent detail across all model parts.
- Apply padding: Use 4–8 pixels to prevent artifacts in game engines.

5. Building PBR Materials
Creating PBR materials is a disciplined, layer-based process:
- Base Layer: Establish the core color and texture foundation using your albedo map.
- Wear and Tear: Introduce authentic damage—such as scratches, grime, or rust—through procedural masks or hand-painted details.
- AO Bake: Bake ambient occlusion to anchor your material with realistic shadowing.
Workflow Tip: Name layers clearly (e.g., "Rust_Edges" or "Dirt_Base"). Precise naming keeps your project organized, especially during collaboration or iteration.
6. Shaders and Post-Processing Effects
Shaders take your materials beyond static textures. Build custom shader graphs in Unreal or Unity to create dynamic effects like rain-induced wetness or glowing emissive surfaces. Post-processing volumes amplify the atmosphere Screen Space Reflections (SSR) deliver glossy realism, while Ambient Occlusion (AO) enhances shadow depth.
- Custom Shaders: Design effects like wetness or heat distortion for immersion.
- Post-Processing: Leverage SSR for reflective surfaces and AO for grounded lighting.
- Test in Engine: Confirm shaders perform smoothly during gameplay.
Dynamic shaders and post-processing make your environment feel vibrant and reactive.
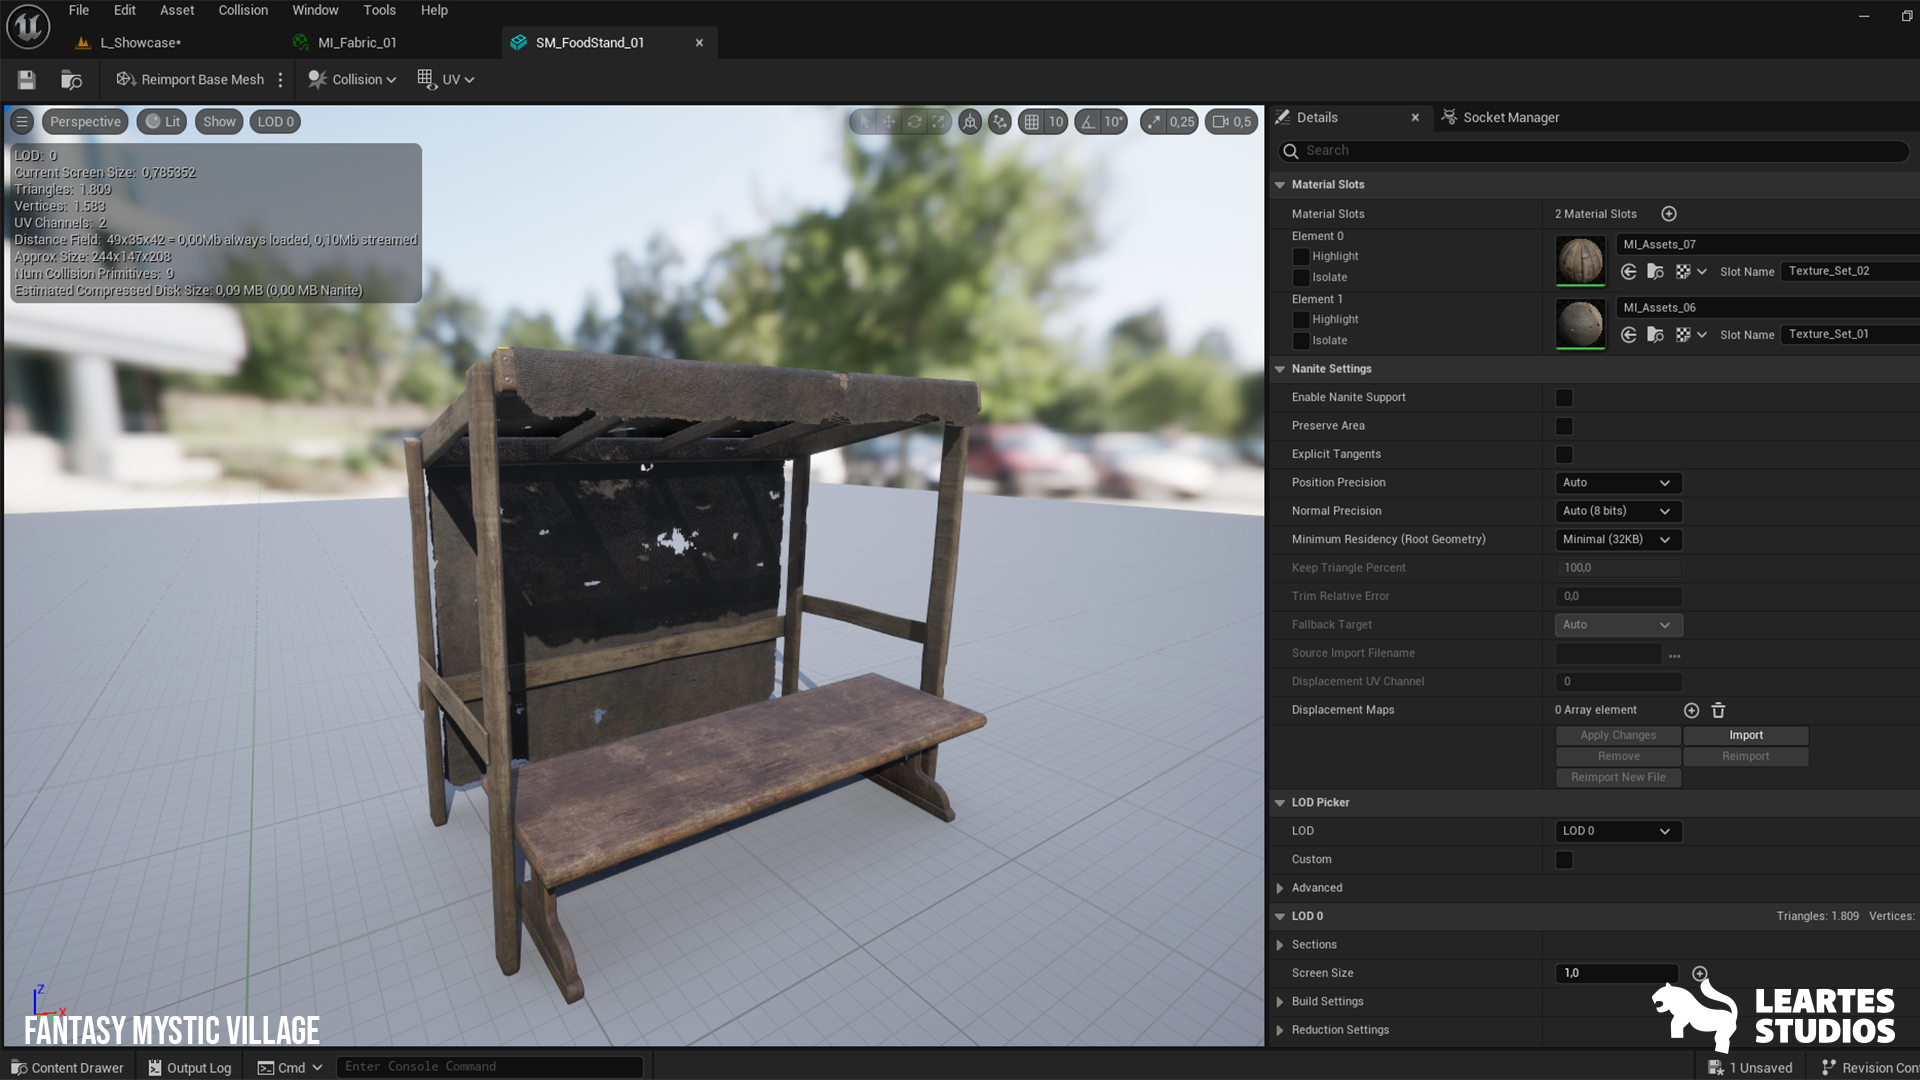
7. Performance and Optimization
Visual brilliance is worthless if your game stutters. Optimize textures with atlases to merge multiple materials into a single one, reducing draw calls. Use mipmaps for smooth texture scaling at a distance. Implement texture streaming and Level of Detail (LOD) systems to maintain performance without compromising quality.
- Texture Atlases: Combine small textures into a single sheet.
- Mipmaps: Create lower-resolution versions for distant objects.
- LOD and Streaming: Load textures dynamically based on player proximity.
Intelligent optimization delivers stunning visuals while maintaining high frame rates.
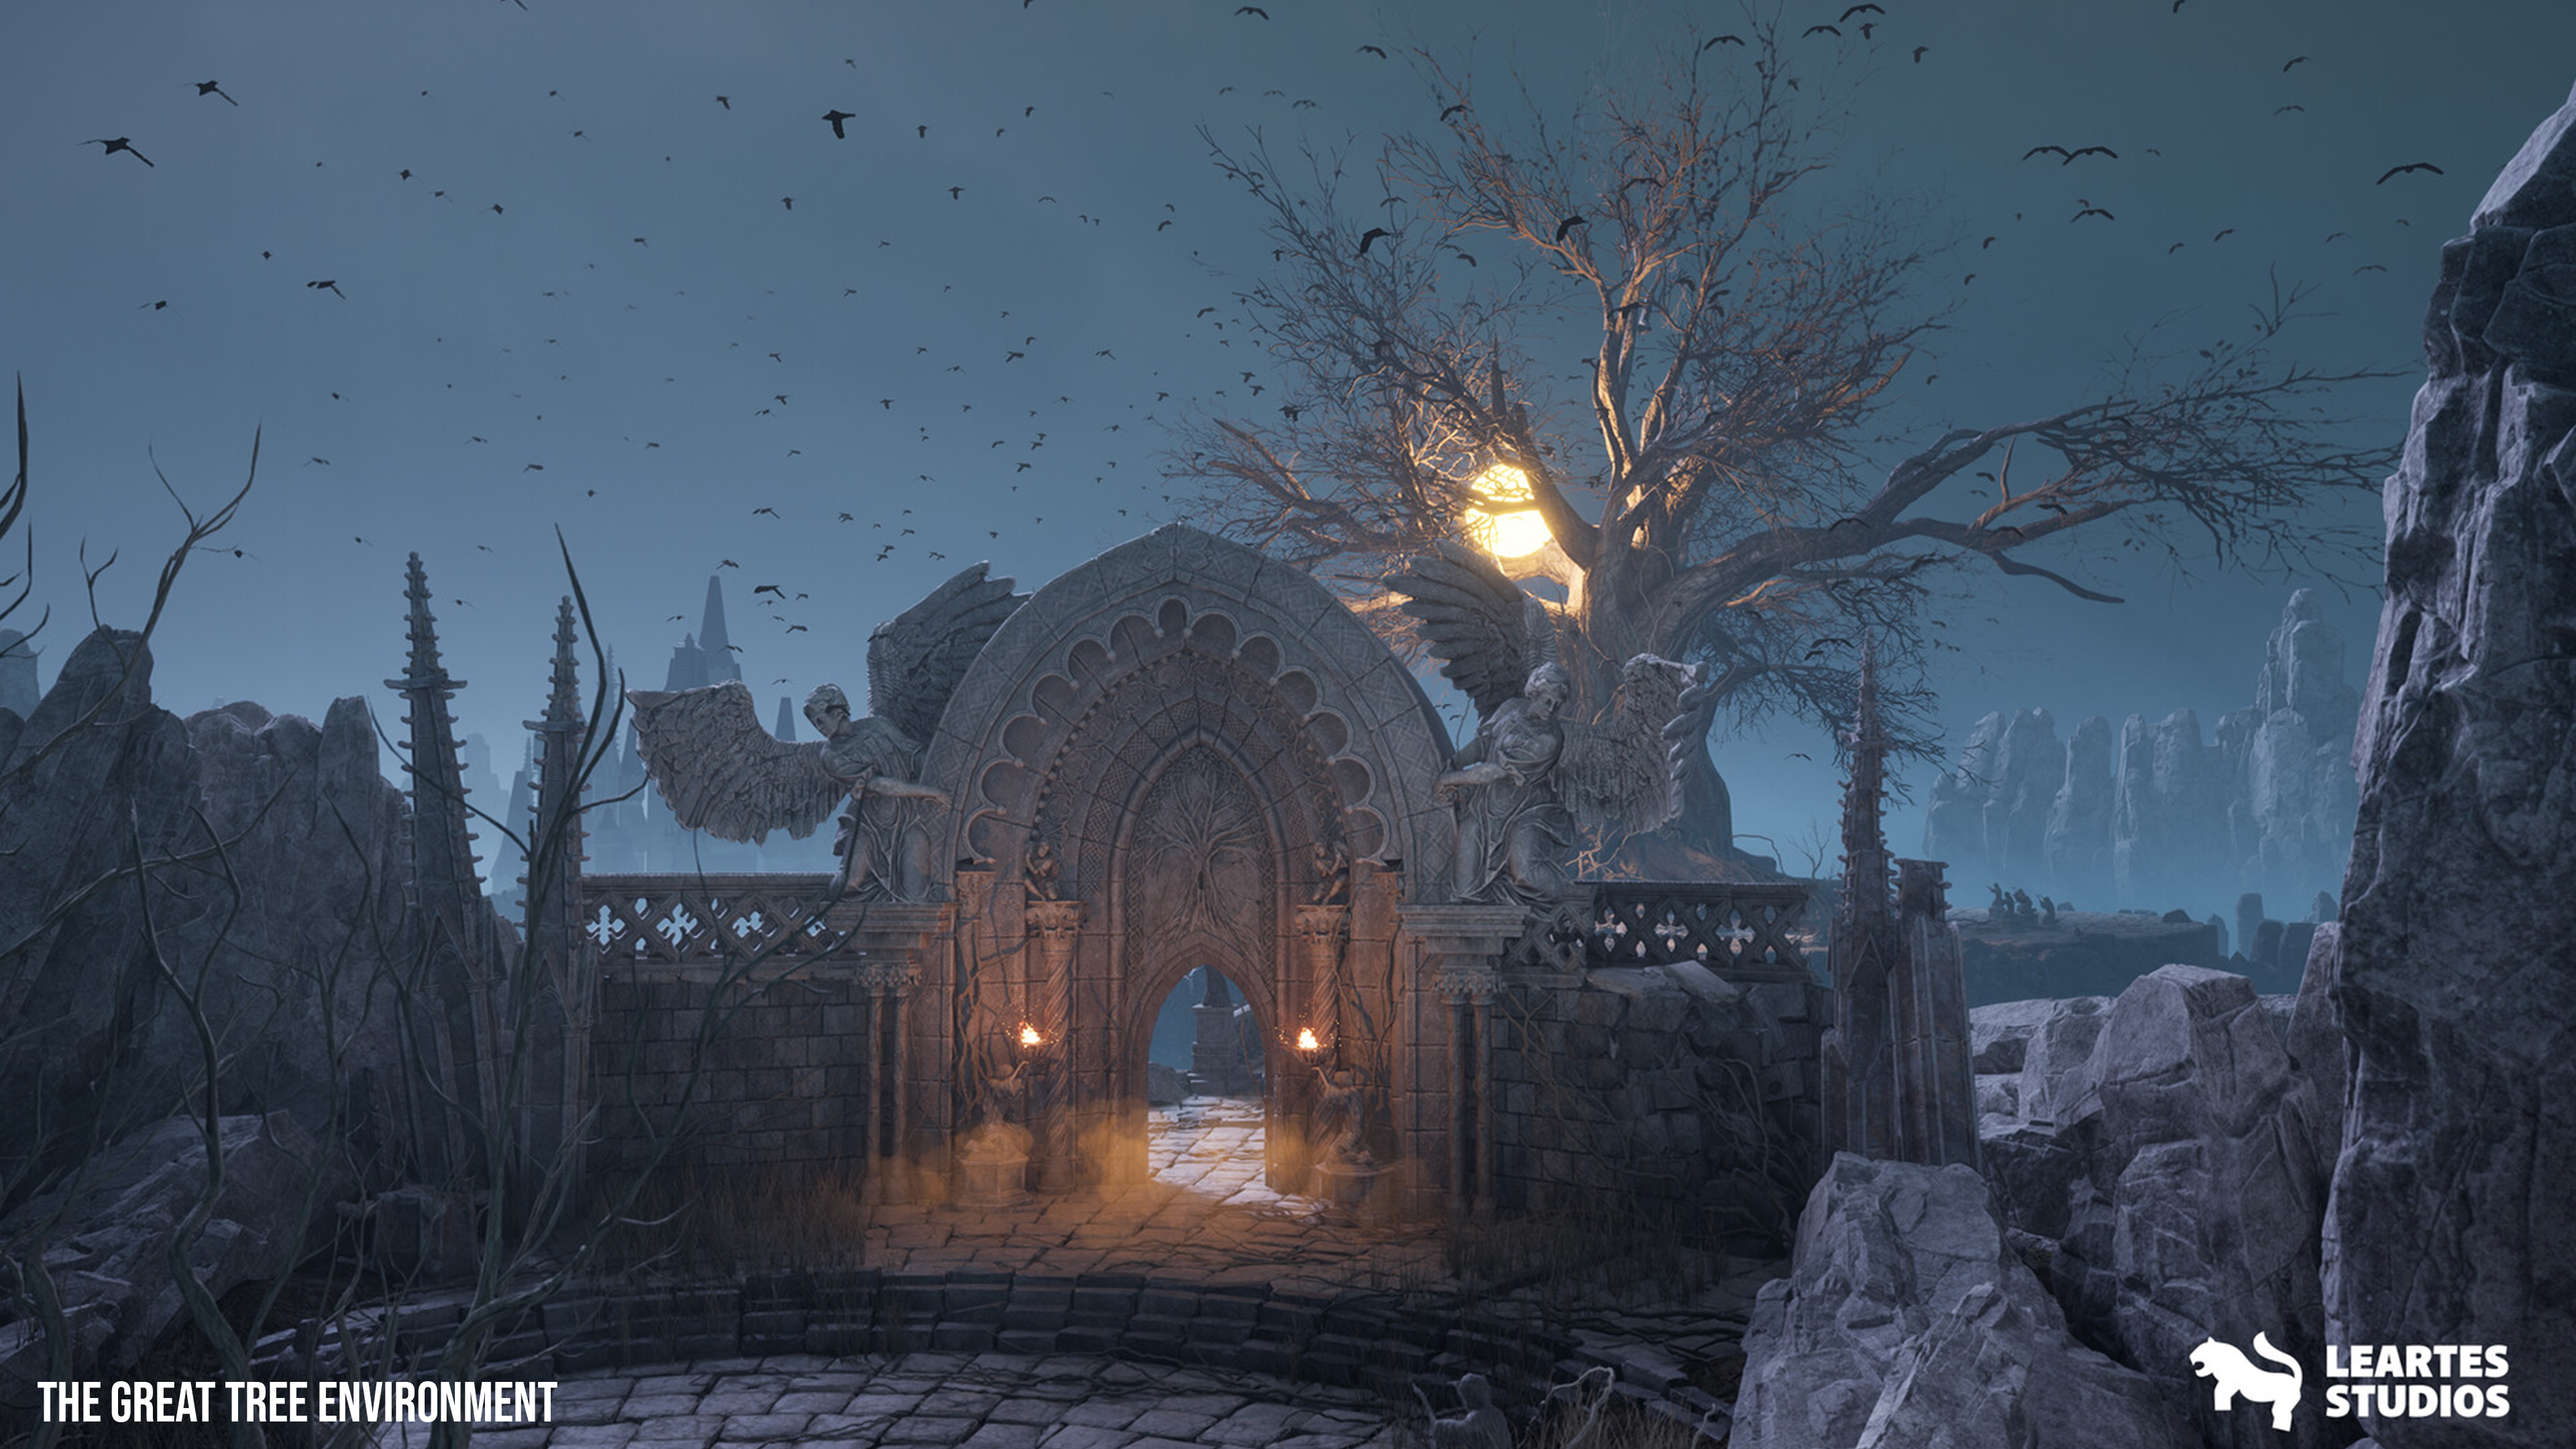
8. Adding Atmosphere and Narrative
Textures are storytellers. Decals, such as graffiti or blood splatters, add context and history. Time-based variations, such as accumulating dust or fading paint, suggest a world with a past. Interactive elements, such as footprints in mud, deepen player engagement.
- Decals: Introduce narrative elements, such as posters or cracks.
- Time-Based Variation: Simulate weathering or decay over a specified period.
- Interactive Textures: Enable dynamic changes tied to gameplay.
These details transform your environment into a living, breathing character.
9. Testing, Feedback, and Iteration
A remarkable environment demands relentless testing. Build light rigs to simulate day, night, and dramatic conditions. Conduct playtesting with focus groups to pinpoint what feels off. Use version control (like Git for assets) to iterate quickly without losing progress.
- Light Rig Tests: Evaluate material performance under diverse lighting.
- Playtesting: Collect player feedback on immersion and clarity.
- Version Control: Track changes to compare or revert iterations.
Example Material Graph in Substance Designer

10. Conclusion
Geometry lays the groundwork, but textures and materials tell the story. They shape atmosphere, carry the echoes of history, and breathe life into your worlds. Armed with PBR fundamentals, powerful reference imagery, streamlined workflows, and a mindset of continuous refinement, you’re poised to craft game environments that captivate players and stand the test of time. Explore high-quality materials on Cosmos